Metadata Required for Datasets
Check out our Metadata Guide for Datasets. This downloadable document summarizes the metadata required to create a Dataset in a condensed, easy-to-reference document.
Creating a Dataset
tDAR will accept Datasets stored in a variety of file formats. The Dataset formats that tDAR accepts are as follows:
- mdb
- xls
- xlsx
- mdbx
- tab
- csv
- accdb
To create a Dataset, first login to tDAR. Click the “Upload” button on the tDAR toolbar. You can access this toolbar and button on any page within tDAR when you are logged in. You can also navigate to the Dataset creation page from your Dashboard.
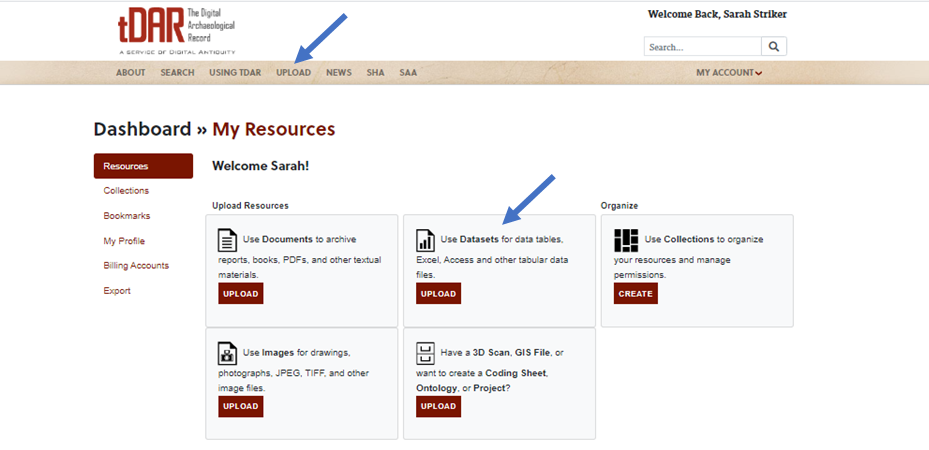
If you used the Upload button, you will then be presented with a screen that asks you to select the resource type you wish to add. Choose Dataset from the options presented.
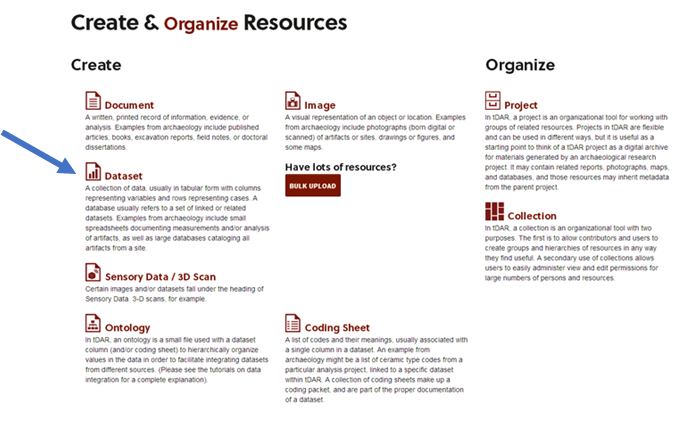
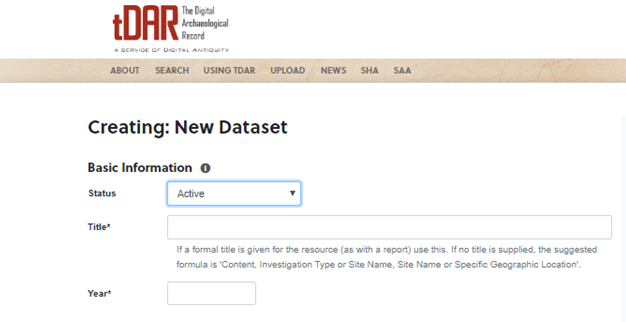
From there, you will move to the Creating: New Dataset page. You will begin entering metadata in the Basic Information entry section.
Basic Information
Basic information for a Dataset includes the name of the associated Project, the status of the Dataset metadata, the title of the Dataset, the year the Dataset was created, and an abstract/description of the Dataset.
Choosing a Status
In the Status field, select the status (either active or draft) that describes the state of this information resource. Select active to indicate that metadata entry is complete and that the resource is ready to be published once it is submitted. The status active means that the Dataset metadata are visible to all users through searching and browsing.
Select draft to indicate that metadata are NOT complete and that the resource is NOT ready to be published. Use the draft status to save your work (remember to click the submit button at the bottom of the Dataset entry page, though, to save your metadata in tDAR).
Note: Status does not inherit from a project to resources inside that project. Thus, a project may be marked as a draft or even deleted without affecting any of the resources within it.
Entering the Year
The Year field documents the year in which this Dataset was created and/or published in its current state. Use the textbox to enter the year your Dataset was created.
Choose an Account to Bill From
If you already have a billing account with tDAR, simply select the account you would like to bill to. If you do not have a billing account set up, see Creating and Managing Billing Accounts.

Dataset Creators
In the Dataset Creator data entry section, list the persons who contributed to the construction of the Dataset you are uploading to tDAR. A person who contributed to the creation of the Dataset may have served as an analyst, data entry technician, data collector/aggregator, Dataset designer, etc.

Begin entering the name of a Dataset creator in one of the name fields in the Person data entry section. tDAR will make suggestions from a list of tDAR users and other entered persons (i.e., other creators, authors, editors, etc.). If one of the suggested persons matches the person you wish to identify as a Dataset creator, select that person. If the suggested persons do not include the person you want to identify, then enter that person’s name, email address, and institutional affiliation as accurately as possible. Enter a current email address and institutional affiliation ONLY if you are confident it is accurate.
To add additional Dataset creators, click on the add another button. Enter the appropriate information for that person and select the appropriate role.
In some cases, an individual person may not be credited with Dataset creation. Rather, an institution may be identified as creator of the Dataset. To add an institution as a Dataset creator, click on the add another button and select Institution.
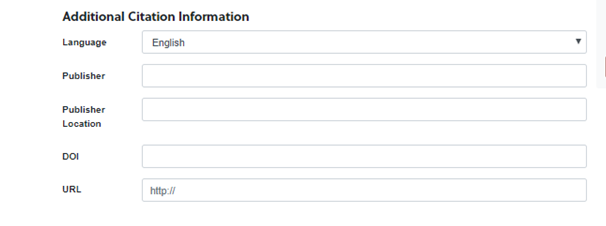
Additional Citation Information
Additional citation information prompts you to add additional descriptors related to the publication of your Dataset. Enter the language that is used in your Dataset. If the data are published, indicate the publisher and publisher location. You can provide a DOI (digital object identifier) if you have one, and a URL if the data or associated resources are published elsewhere on the internet.
Adding an Abstract/Description
This text field allows you to provide a narrative about the content of the Dataset. You will likely want to describe the research that guided the construction of the Dataset, some of the primary variables and variable states, the use and/or potential uses of the Dataset, and any important information that users may need to know to apply your data. Use the textbox provided to enter an abstract.

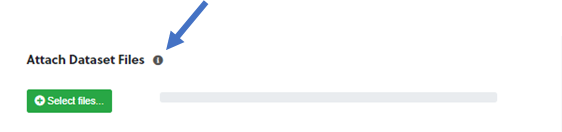
Attach Dataset Files
After entering the general information, you should then select the file(s) you wish to upload to tDAR. Click on the “i” icon to see a list of accepted file types.
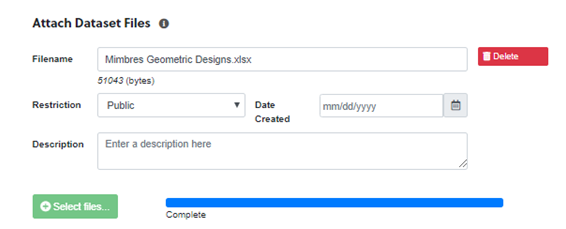
Click on the Select Files button and browse to the file you wish to upload. Once you upload the file, options for restrictions, date created, and description will appear.
Restricting Access to Files: Marking a File as Confidential or Embargoed
tDAR provides two different ways to restrict access to files you upload to tdar:
- Mark the file as containing confidential information
- Mark the file as an embargoed resource
Marking a File as Confidential
When you mark a file as containing confidential information, the file itself will never be accessible to the public. The file’s metadata remain visible, but the file itself is not visible and cannot be downloaded (unless you give access rights to a specific tDAR user).
To mark a file as confidential, select Confidential from the drop-down menu with the sub-heading “This item has access restrictions”.
Why would I mark a resource as “Confidential”? You may choose to mark a resource as confidential if you feel that it contains sensitive data that could endanger an archaeological resource, information that affiliated communities or other interested communities might not wish to be widely available, or information that you are not prepared to share. For example, you may choose to mark a Dataset that contains mortuary feature data as confidential to respect the wishes of affiliated communities to restrict access to this information. This data should likely remain restricted to professional bioarcheologists and others who will treat the information with proper respect.
Marking a File as an Embargoed Resource
When you mark a file as embargoed, you are restricting access to the file for 5 years. In other words, the file will not be accessible to the public for the next 5 years. The file’s metadata will be visible during that period, but the file itself is not visible and cannot be downloaded. After the embargo period has ended, the file will become accessible to the public.
To mark a file as embargoed, select Embargoed from the drop-down menu with the sub-heading “This item has access restrictions”.
Why would I mark a resource as “Embargoed”?
You may choose to mark a file as embargoed to restrict access to the resource for a limited period. For example, you may wish to register a Dataset with tDAR that houses data for an ongoing research project. You would like to store the data and share it with a select group of colleagues working with you on the research project. However, this data must remain restricted until the project is complete and results are published in some fashion. You can mark this resource as embargoed to indicate that it is restricted for a period of time before it can be made available to the public.
How do I allow certain users to view my confidential / embargoed resource?
To permit other registered tDAR users to download confidential/embargoed files, you must enter their names into the Access Rights fields at the bottom of the Dataset entry page. You can grant ONLY registered tDAR users the access rights to download these files.
Uploading Additional Files
If you wish to upload more than one file, click on the add another file button that appears after your first file has been uploaded. Then, click on the new Browse button and browse to the other file you wish to upload.
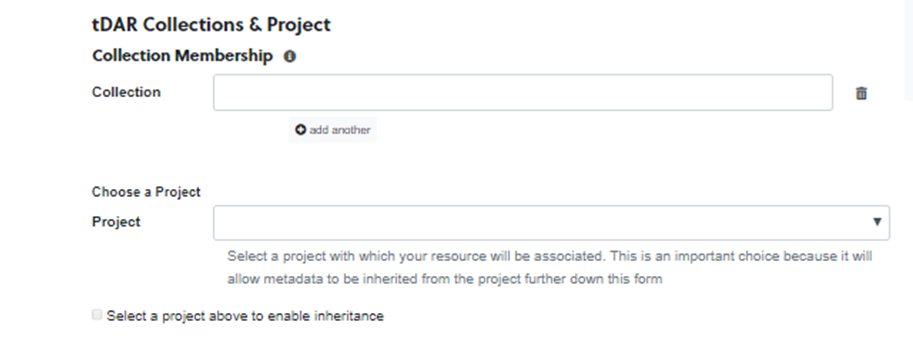
tDAR Collection and Project
You can add your Dataset to an existing Collection or Project that you have permission to edit. To select a Collection, start typing the name of the Collection in the text box and select the name when it appears in the drop-down box. You may also use this text box to name a new, public Collection that will be created when you save your Dataset and will only contain the new Dataset. To choose a project, use the drop-down menu to select from projects that you have permission to edit. Check the box below the project text box to enable inheritance of metadata from that project.
Institution Authorizing Upload of this Dataset
The Institution Authorizing Upload of this Dataset section records the institution that “owns” the resource (i.e., sponsored the production or publication of the document) and/or that gave you permission to upload the resource to tDAR. For example, if the Bureau of Land Management (BLM) sponsored a report and they provided you permission to upload that report to tDAR, the BLM should be entered in the “Institution Authorizing Upload of this Dataset” section.

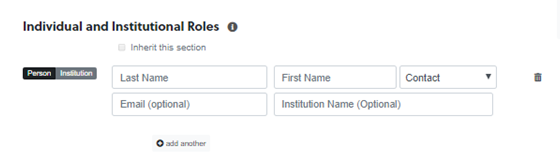
Individual and Institutional Roles
You can use these fields to credit the individuals and institutions that contributed to the resource. You can toggle between person and institution using the buttons on the left side of the text boxes. Select the role that best describes their contribution. Use the “add another” button to add additional contributors.
Adding Dataset Specific or Agency Identifiers
Dataset Specific or Agency Identifiers in tDAR can include a wide range of values:
- Contract numbers
- Internal project numbers
- Permit numbers
- etc.
If you have added the Dataset to an existing project, you can choose to inherit the data in this section.
. 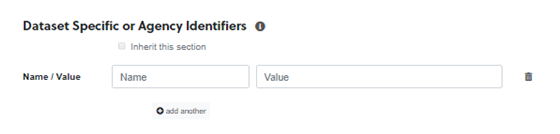
To enter an identifier
- Click in the Name field
- Begin typing the identifier name. For example: “State of California Contract Number”, “BLM Permit Number”
- Many fields within tDAR include auto-complete, so tDAR may suggest existing values that match what you’ve typed
- If an existing value matches, select it
- Enter the identifier value in the “value” text box
Save your entry and your Dataset has been created!
Documenting Columns in a Dataset
Once you have uploaded a dataset, you need to document each of the columns. Documenting columns helps users in the future to understand the data within each column, and to decode any coded values. To access the columns in a dataset, click Table Metadata in the view page toolbar.
Choosing a Column Type:
tDAR includes five separate column types:
- Numeric value – a numeric value, such as an ID number count, or measurement that stands on its own
- Text value – a text value that stands on its own, such as a provenience label, a comment or a variable state (e.g. “jar”) that is entered n a textual form (note that in databases, text values are case sensitive so “jar” is not the same as “Jar”.)
- Coded value – numeric or text codes that use a coding sheet to translate to a human-readable label (if you mark a column as having a coded value, tDAR will prompt you to select the coding sheet)
- Measurement – column contains litres, pounds, inches, etc
- Count – the value is a number but represents a count of some other column
Why are some of these values filled in automatically?
tDAR tries to identify the contents of columns for you if possible. This includes looking to see if the contents include text or numeric data. If they do, it will set defaults for you.
Categorizing your data:
Chose a category from the drop-down menus that best describes your data (Architecture, Ceramics, Provenience and Context, etc.).
Providing a description:
Often, it is helpful to other users to have a sentence long description of a column’s contents.
Choosing a Coding Sheet:
If you have marked a column as including coded data, tDAR will allow you to select the coding sheet that contains that coded data. If you’ve already loaded the coding sheet, you can simply start typing the name of the coding sheet in the coding sheet section, otherwise click “add new” to create one. (note: you will need to save this page and reload for tDAR to find it).
Choosing an Ontology
Not all columns need ontologies assigned. Ontologies allow you to organize data within a column hierarchically (eg: Furniture > Chairs > Rocking Chair ). This is often useful in data integration when comparing multiple data sets that different levels of specificity. If you have already loaded the ontology, you can simply start typing the name of the ontology in the ontology section, otherwise click on the link to the left to create one. (note: you will need to save this page and reload for tDAR to find it).